This pages explains the how I set up my computer system in order to complete the tasks nessicary for the production. It is useful to understand my Video Workspace to help understand some of the topics explained later.
On this Page:
A. Computer System
B. Peripherals
C. Software on Computer
D. OBS Plugins & Scripts
E. OBS Workspace
F. Recording Format
A. Computer System
This is my Desktop System that I built back December of 2017. This system which has some higher-end consumer components made the video production possible as I was able to easily run several applications, live record, and video edit. The System specifications and fun fact are as follows for those interested:
Operation System: Windows 10 Pro
Processor: Intel® Core™ i7-8700K Processor (6x 3.70GHz/12MB L3 Cache)
Motherboard: ASUS ROG STRIX Z370-E
Memory: 16 GB [8 GB X2] DDR4-3000 of XPG Modules
Graphics Card: NVIDIA GeForce GTX 1080 Ti - 11GB - EVGA FTW3
Power Supply: 900 Watt - In Win Classic Series C900W
Primary Hard Drive: 500GB WD Blue SSD
Case: iBUYPOWER Snowblind Element
Fun Fact: The case is the center piece of the build and is from a boutique system producer iBUYPOWER. I was able to get the case separate from a complete system from them which is what made it financially possible for me to include it. The case side panel functions as a tempered glass window that has a LCD screen attached to the inside. If you add enough light inside the case it acts as a backlight for the LCD panel allowing you to see the image. Hence, the case can act as an additional monitor for auxiliary information such as computer statistics. It can also do fun things like playback video or act as an equalizer with additional software.
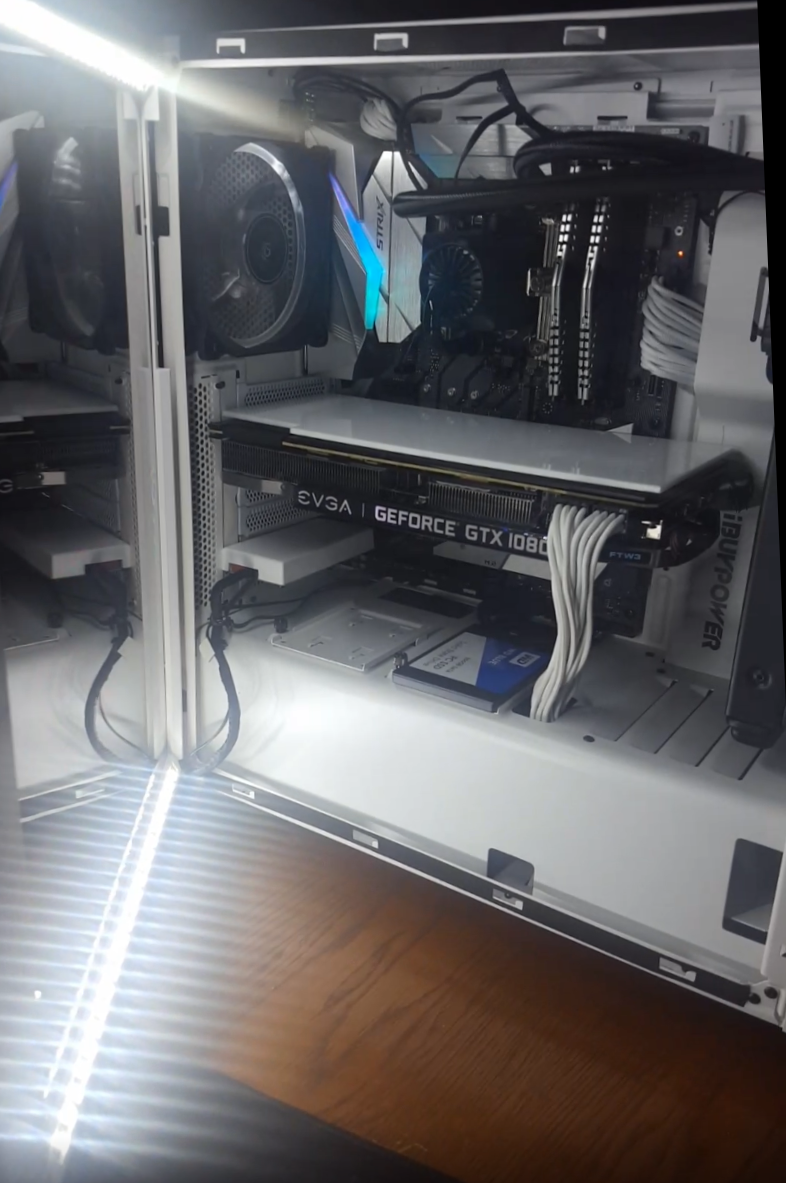
Inside Computer Case
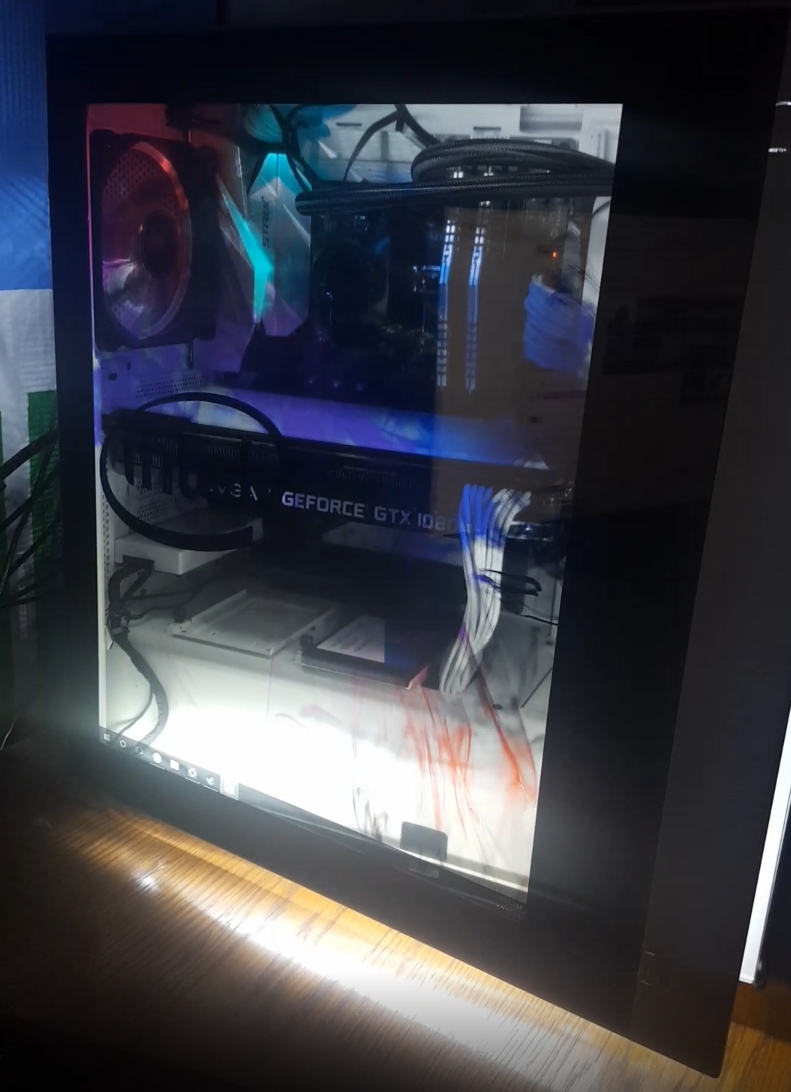
Passthrough Screen Example 1 - Premade Video
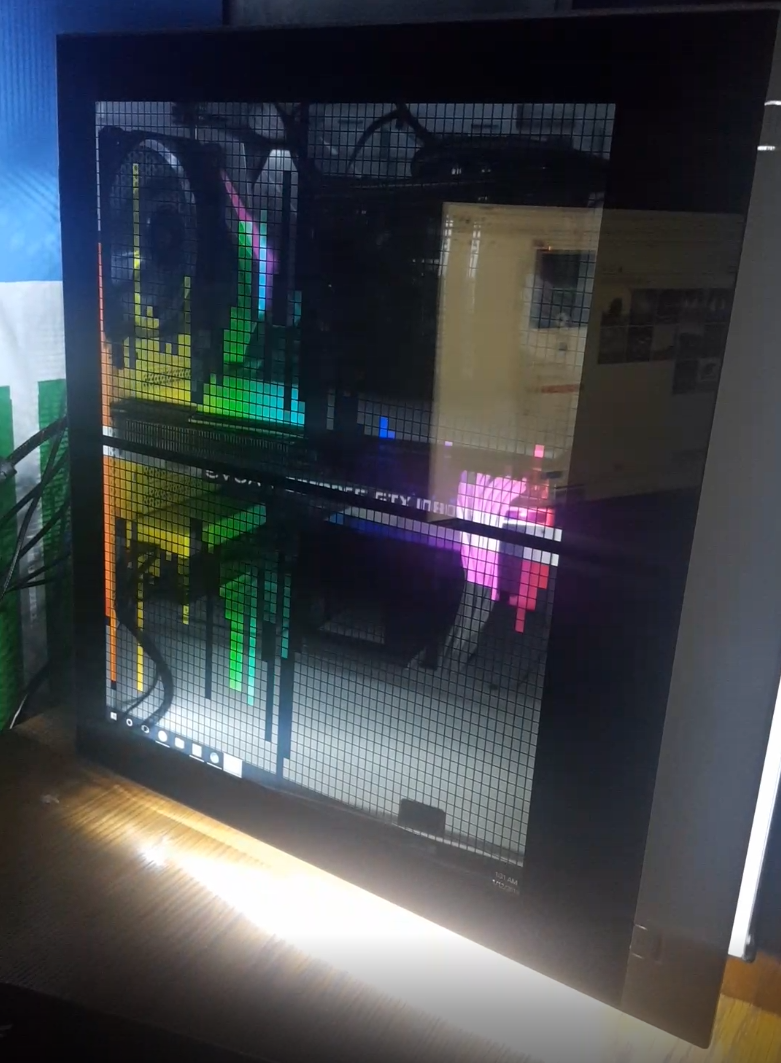
Passthrough Screen Example 2 - Real Time EQ
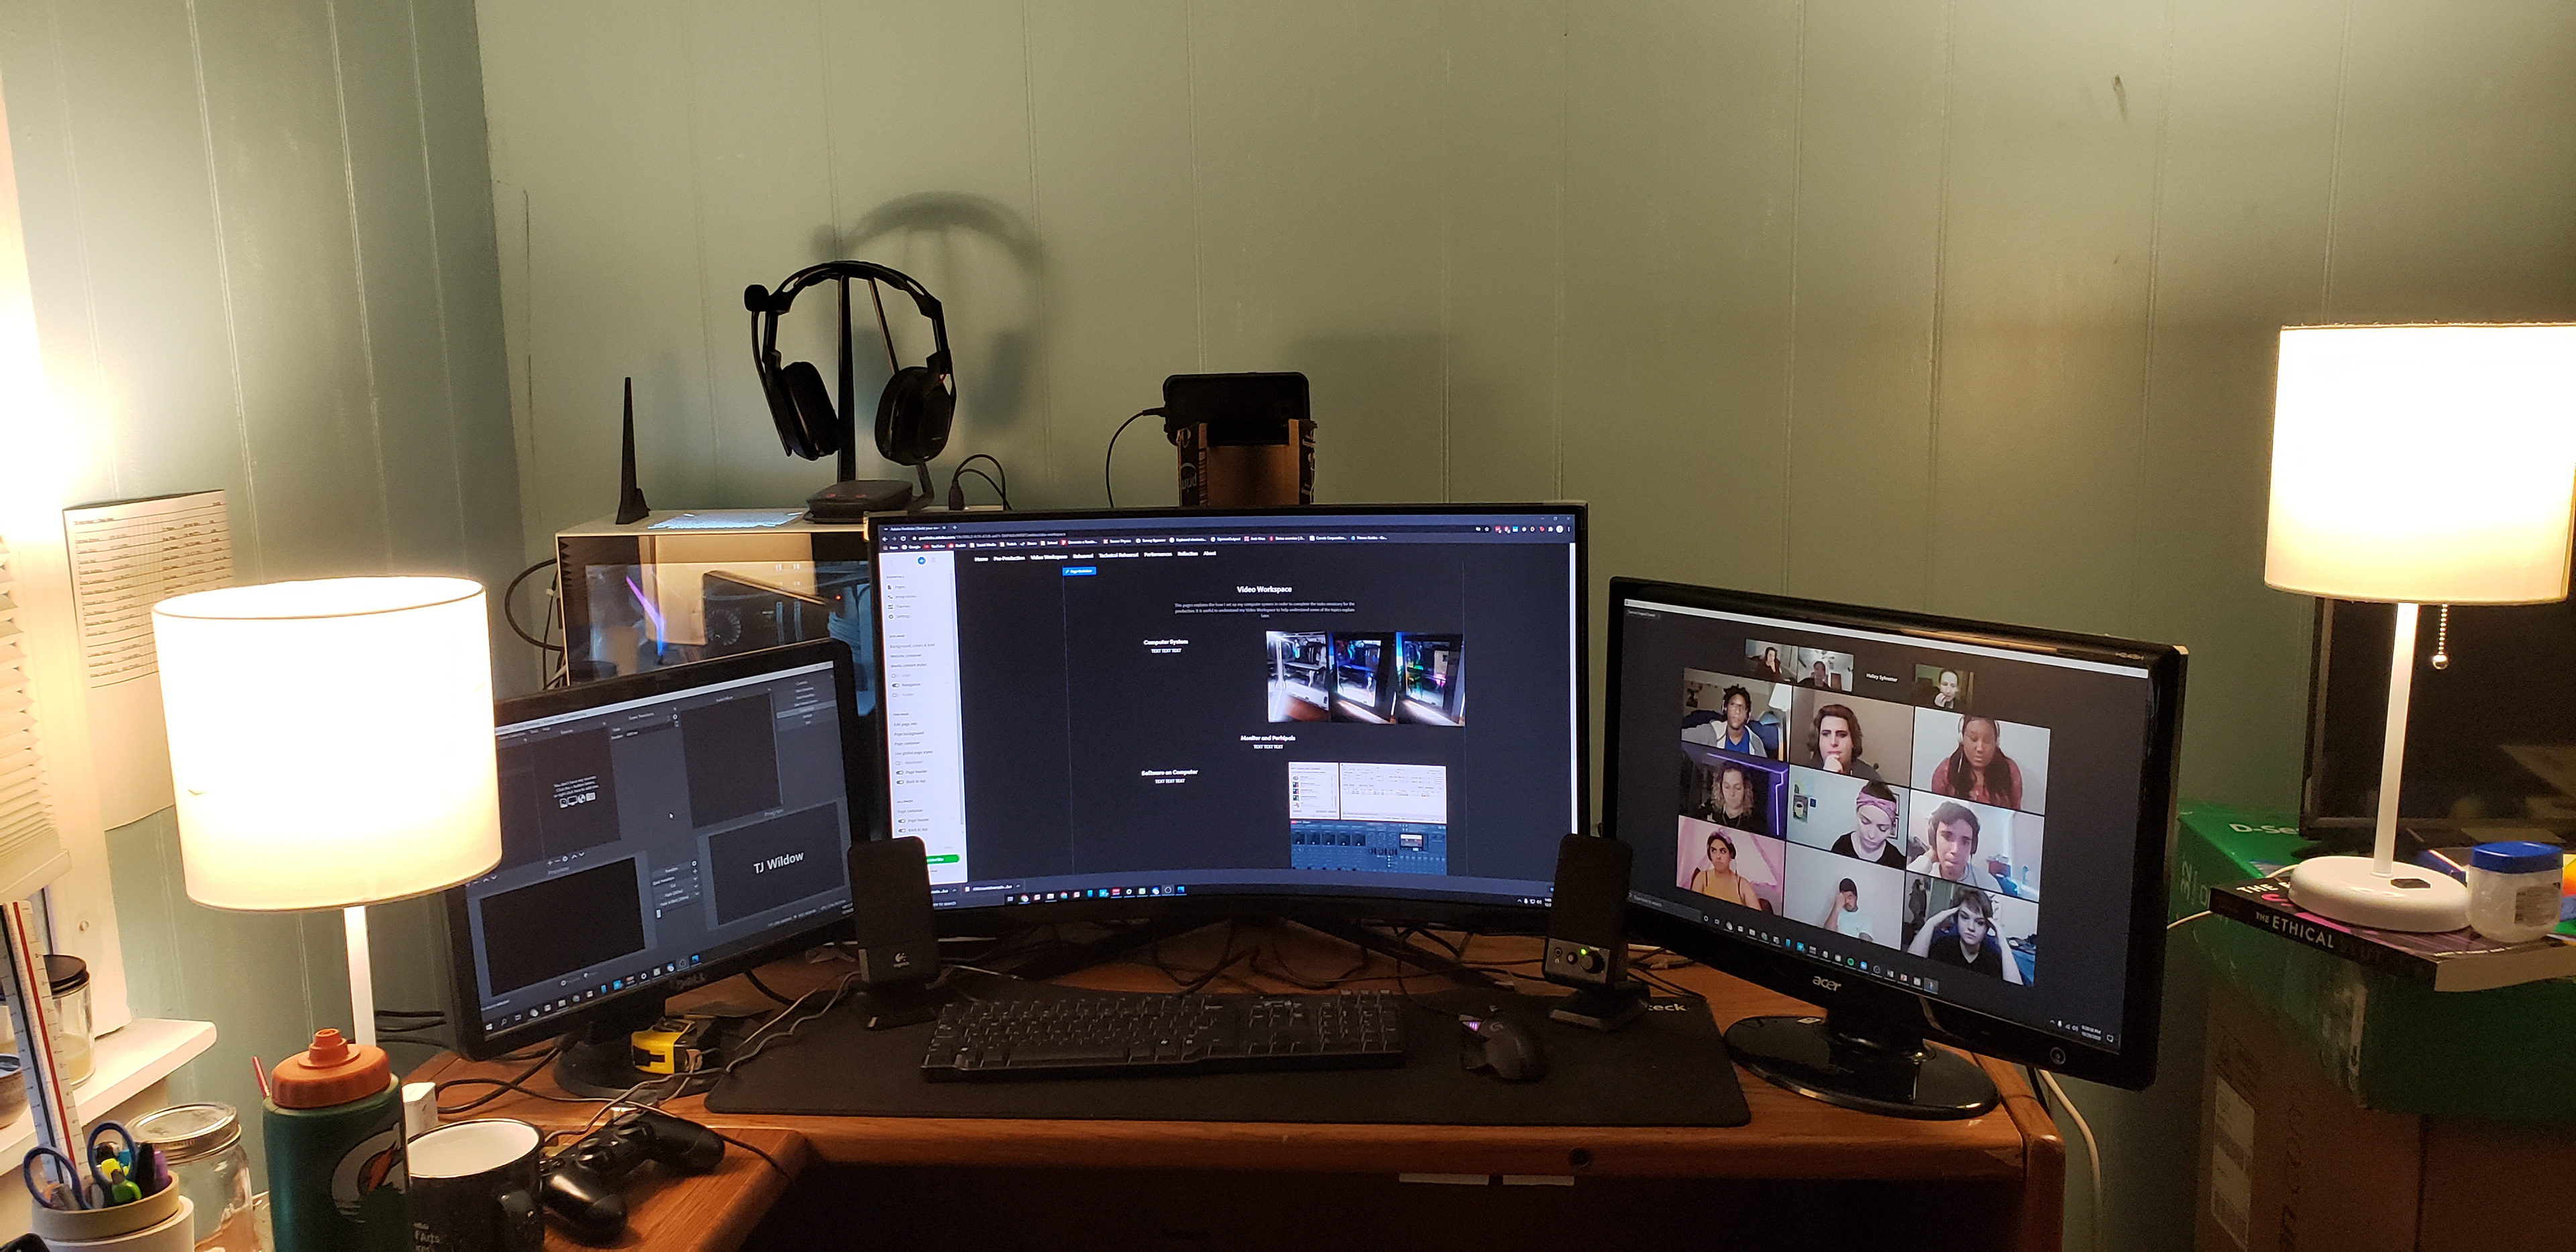
Image of desk setup for video production during "Everbody"
B. Peripherals
This is the setup that I used for rehearsals and shows. The arrangement features two desk lamps for even face lighting and an old Android phone being used as a high quality webcam (possible through software named "DroidCam"). For monitors I used the far left monitor to monitor OBS, the middle monitor to make any "off screen" adjustments (Changing OBS settings, audio settings, etc. while letting me keep a full view of OBS), and the far right monitor was used for the Zoom call and screen grab. For audio, there was a 2.1 speaker system for general monitoring and a pair of headphones for communication and specific mixing. Inputs included a basic keyboard and mouse.
C. Software on Computer
There were a few pieces of software on the computer system that aided in the production of the show. The first is a virtual sound console called "Voicemeeter Potato" from VB-Audio. This allowed me to more effectively route audio than Windows 10 natively supports. More importantly, I can send audio outputs to multiple places allowing me to have a separate audio channel dedicated for Zoom audio going into the broadcast that couldn't be affected by notifications or my own microphone. I could route specific audio to the speakers and headphones to hear the video output in the speakers and communications in the headset with the ability to easily switch or adjust. What supplemented this was virtual audio cables which allows for further assignment of audio mixing. I used "Virtual Audio Cable" (VAC) by Eugene Muzychenko, although VB-Audio has their own virtual cables I like VAC's solution better. Theoretically I could put each application on my computer on its own audio channel allowing for in-depth routing, equalizing, and effects.
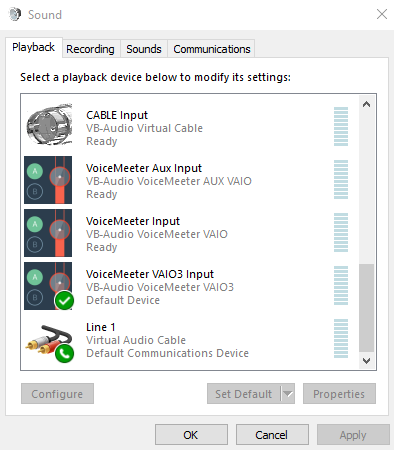
Example of what Windows 10 "saw"
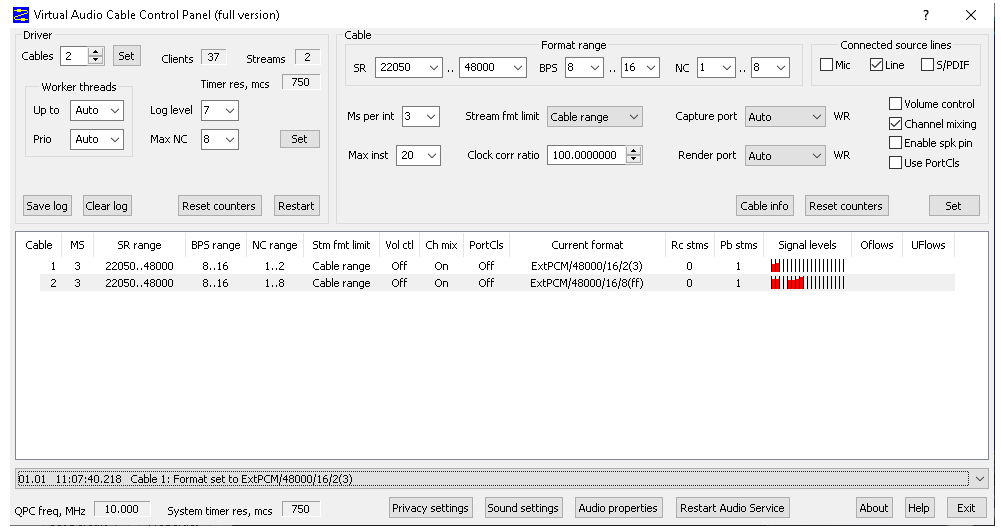
Vitural Audio Cable Interface
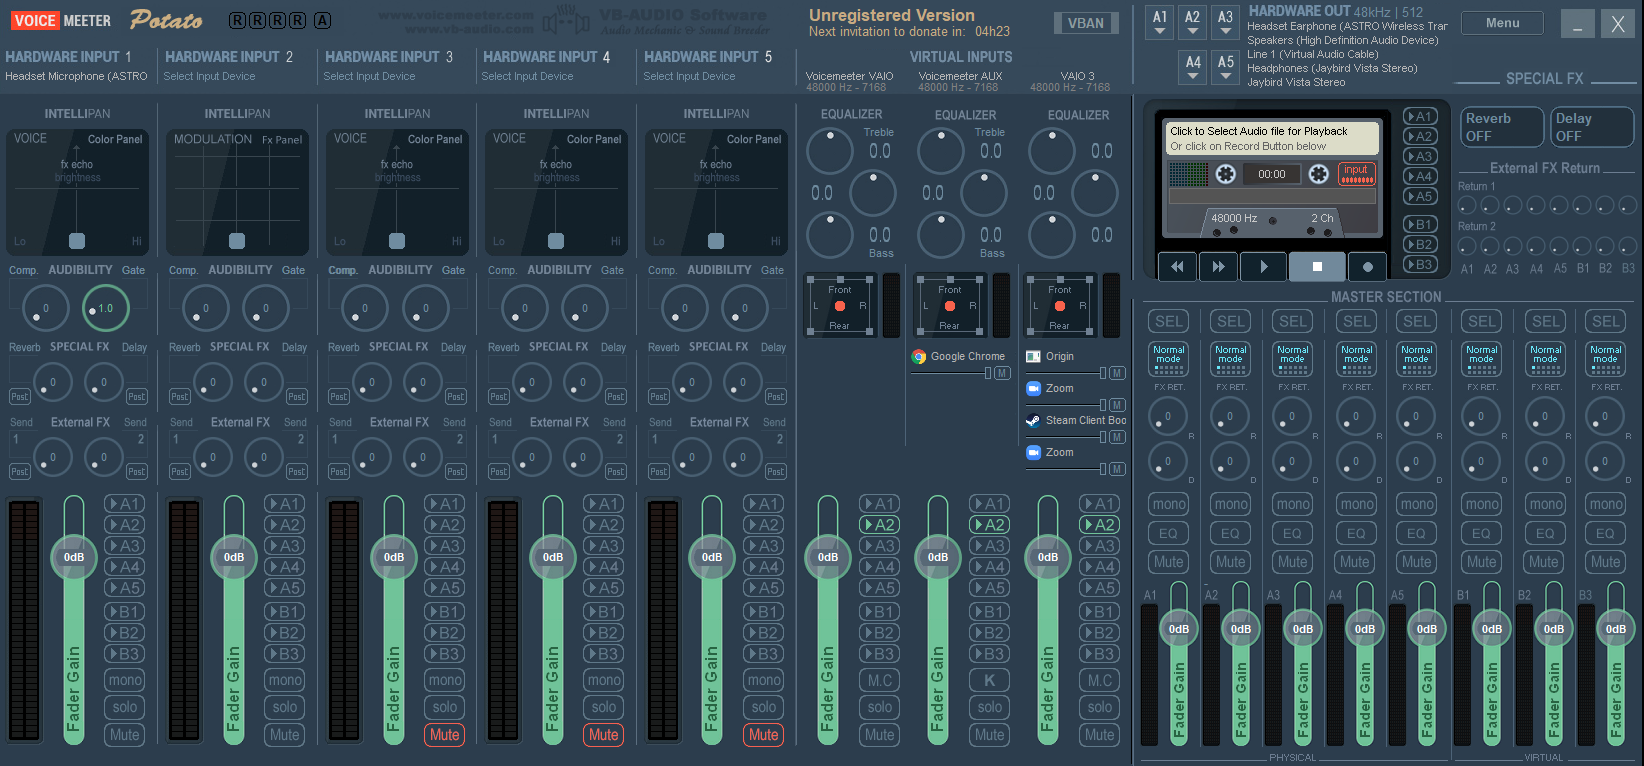
Voicemeeter Potato Interface
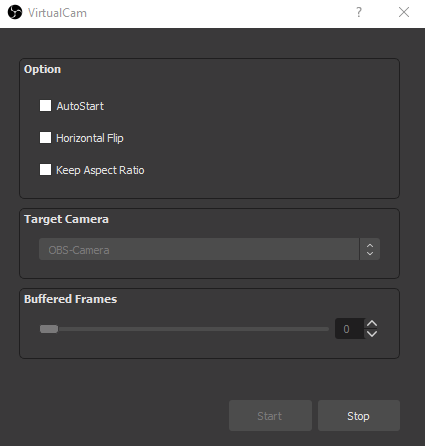
"VirtualCam" Plugin - https://obsproject.com/forum/resources/obs-virtualcam.539/
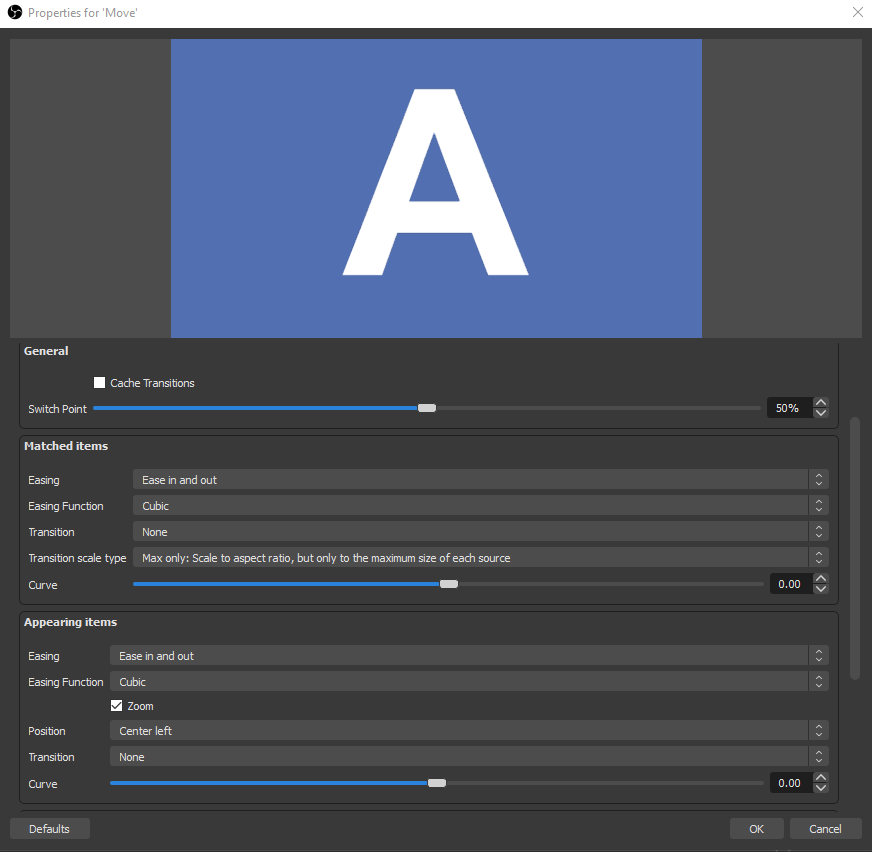
"Move Transition" Plugin - https://obsproject.com/forum/resources/move-transition.913/
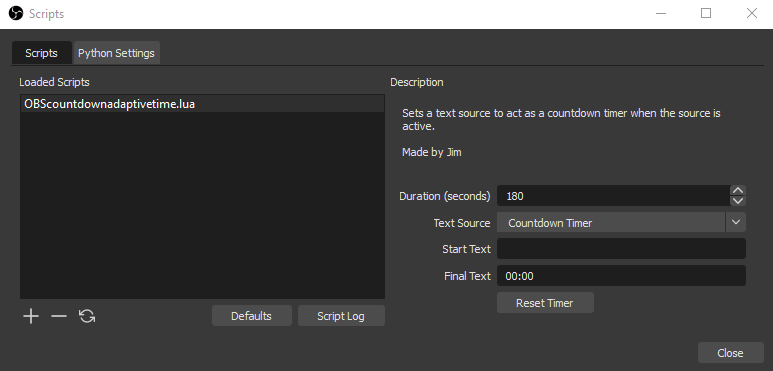
Scripting for countdown timer - https://www.youtube.com/watch?v=qgMmeSibWHw&ab_channel=LASCurry
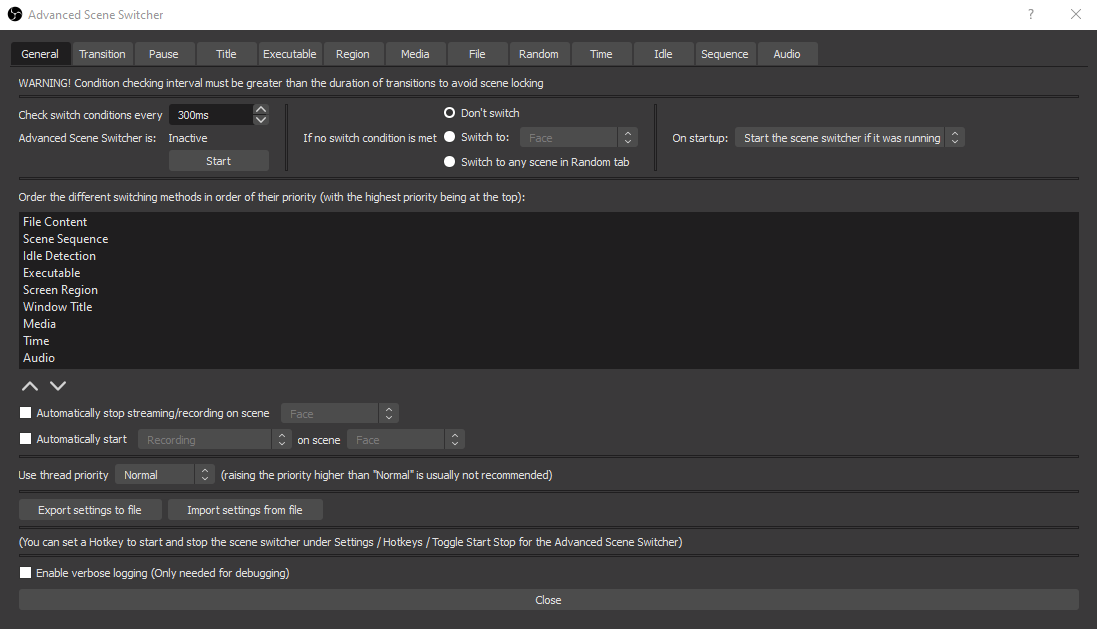
"Advanced Scene Switcher" https://obsproject.com/forum/resources/advanced-scene-switcher.395/
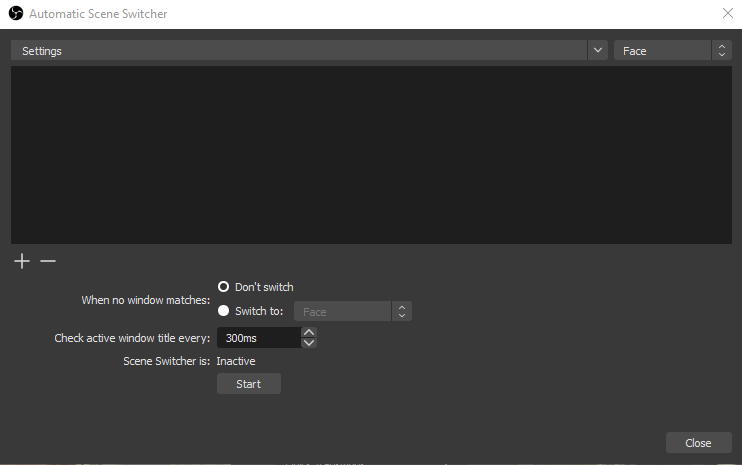
Automatic Scene Switcher - Built In to OBS
D. OBS Plugins & Scripts
Once we get into OBS, there were a few plugins that were crucial for production. First is "VirtualCam", which allows the output of OBS to be seen as a camera input for a system. This was implemented to be used a video monitor for production. By selecting OBS as the camera input into Zoom, the company could see live exactly what would be shown to the audience. This also allowed the Teleprompter to be brought in on a separate computer system without being an intrusive “screen share”. The second plugin that was highly helpful was the "Move Transition" plugin, which allowed for scene transitions to occur with greater movement possibilities. Examples include having video inputs zooming in/out, sliding from on/offstage, etc. while they were faded in. The last tool that was used for production was a countdown script which enabled us to have a countdown during preshow that was triggered when the scene went live. I did experiment with an "Advanced Scene Switcher" plugin and "Automatic Scene Transitions" which is built into OBS, but they proved to be out of the scope of the project. These tools allowed for even more granular control and transition possibilities but a higher learning curve and programming time. It would be useful investigating these tools for a longer show run as certain transitions could be automated to decrease operator error.
E. OBS Workspace
One of the advantages of OBS is that it's highly customizable in it's workspace. By the end of the production I had fully customized the layout of OBS to my needs. Some of the changes included switching into a Studio Mode to have a program and preview of video, moving controls, changing control formats, and adding a statics tab to monitor recording performance.
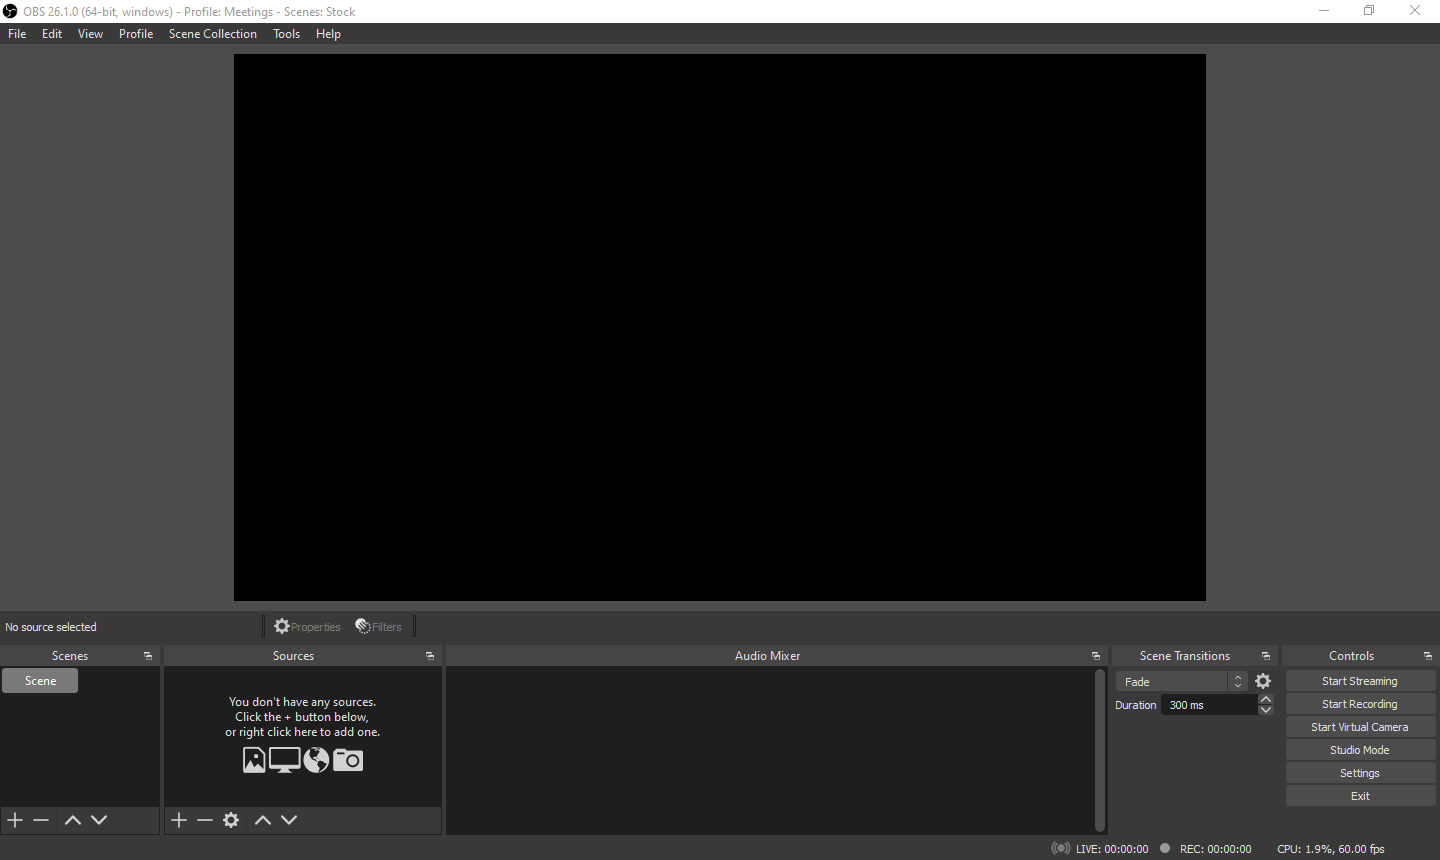
Stock OBS
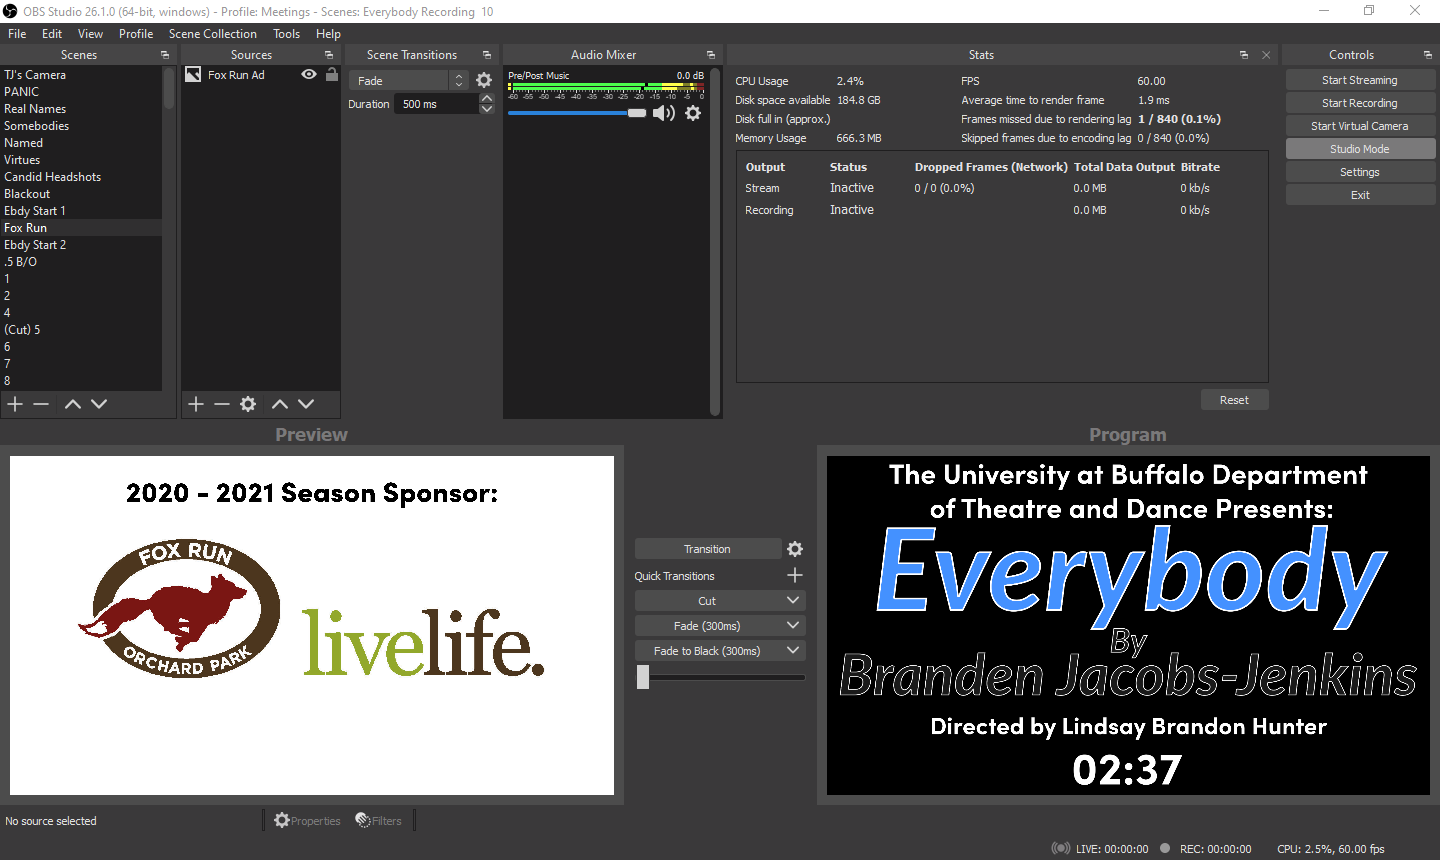
Customized OBS
F. Recording in .flv instead of the common .mp4
For this production we recorded show is a .flv format instead of .mp4. Although .mp4 is more compatible, it requires the file to be “finished” in order to be read properly and thus can result in an unrecoverable file if the recording isn’t finished due to power loss, system error, etc. The file format .flv does not require the file to be “finished” in order to be read and thus if there was an error during recording we wouldn’t have to restart the entire show, we could restart the last scene and edit the two clips together cutting the overlap. If you would like a more in-depth explanation of this choice please check out this super helpful article: https://tielqt.medium.com/should-you-be-recording-to-mp4-with-obs-obs-mythbusters-fc8513851170